Most GIFs have stuff you don’t need — a weird border, watermark in the corner, extra space above and below. GifNeo’s GIF cropper lets you drag-select the exact area you want, or type precise pixel coordinates. Every frame gets cropped identically. No uploads, no server.
Why Crop a GIF?
- Remove unwanted elements: Watermarks, timestamps, chat UI elements, black bars — crop them out and your GIF looks clean
- Focus on the action: A wide screen recording often has irrelevant content on the sides. Crop to the part that matters
- Meet platform specs: Profile pictures, stickers, and avatars need specific dimensions. Crop to a perfect square or circle area
- Reduce file size: Smaller dimensions = fewer pixels per frame = smaller file. Cropping is a quick win before compression
How to Crop a GIF with GifNeo
Step 1: Open the Cropper
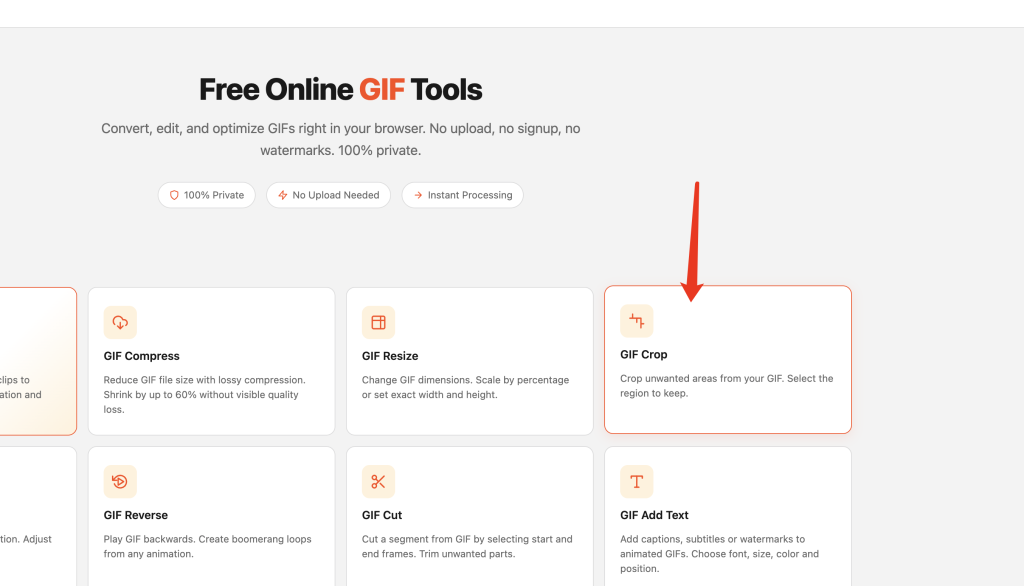
Go to GifNeo GIF Cropper. No signup needed.
Step 2: Upload Your GIF
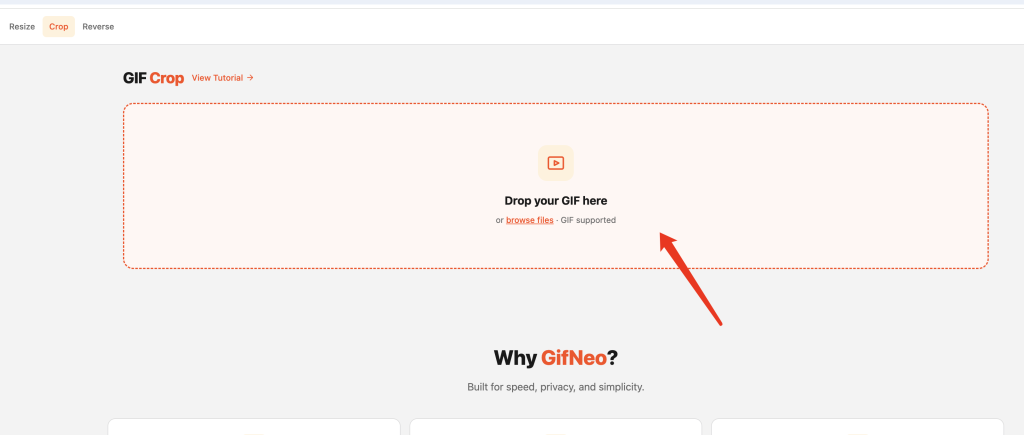
Click the upload area or drag and drop a GIF file. The tool loads the first frame as a preview with a crop overlay.
Step 3: Select the Crop Area
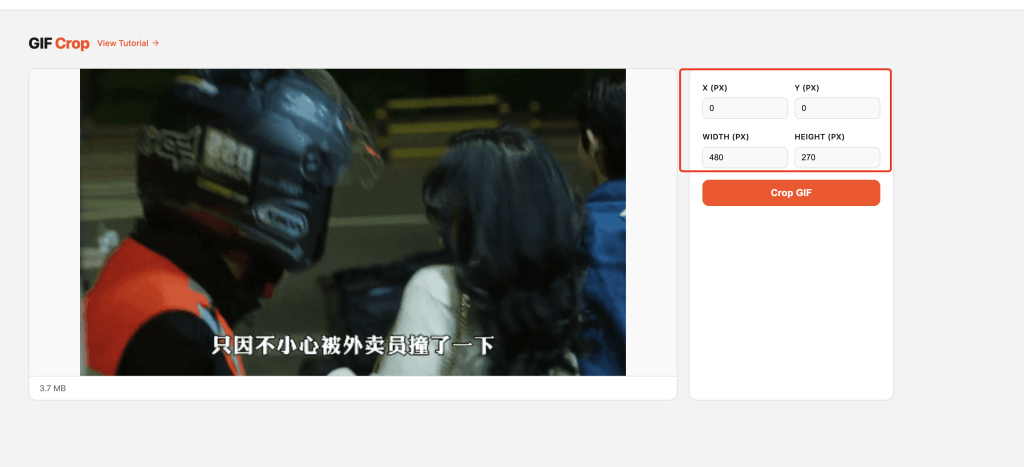
Two ways to define what to keep:
Drag to Select (Visual)
- Click and drag directly on the image to draw a crop rectangle
- Grab any of the 8 handles (4 corners + 4 edges) to fine-tune the selection
- Corner handles resize both width and height simultaneously
- Edge handles adjust one dimension at a time
- Drag the entire selection box to reposition it
Type Exact Values (Precision)
- X: Horizontal position of the crop area’s left edge (0 = far left)
- Y: Vertical position of the crop area’s top edge (0 = top)
- Width: Width of the crop area in pixels
- Height: Height of the crop area in pixels
The crop selection updates in real time on the preview as you change any value.
Step 4: Preview the Crop
The dimmed area outside the selection shows exactly what will be removed. Everything inside the bright rectangle stays.
Step 5: Download the Cropped GIF
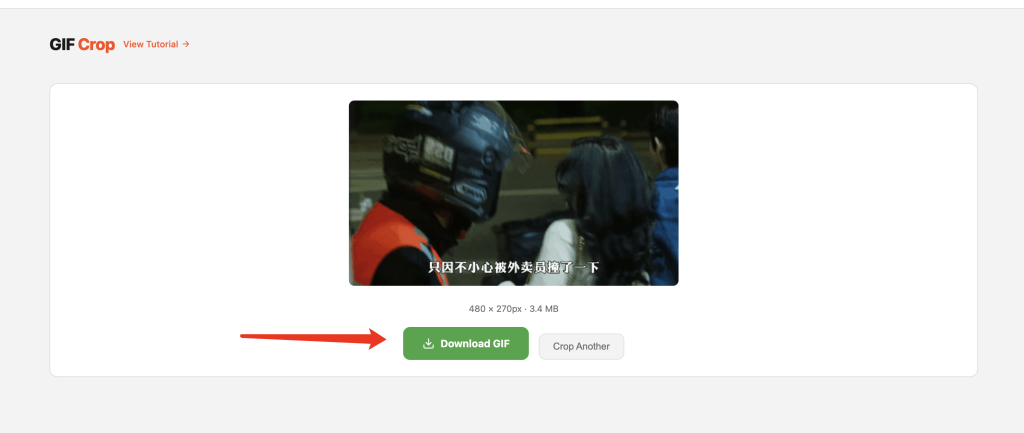
Click “Download” to save. Every frame is cropped to the same coordinates. The filename adds a -cropped suffix.
Common Cropping Scenarios
Remove Black Bars
Screen recordings often have black bars at top and bottom. Measure the bar height, then set Y to skip it and reduce Height accordingly. Or simply drag the top and bottom edges of the crop box inward.
Crop to Square for Avatars
Want a perfect square from a rectangular GIF? Set Width and Height to the same value, then drag the selection to center on the subject. For a 400×300 GIF, set both to 300 and position X to 50 to center it.
Remove Watermarks
If a watermark sits in the corner, crop inward from that edge. For example, if there’s a 50px watermark on the right side, set Width to (original width – 50) and keep X at 0.
Focus on a UI Element
Recording a full screen but only want to show a button or dialog? Crop tightly around that element. Set X and Y to the element’s top-left position, then Width and Height to match its dimensions.
FAQ
Does cropping affect GIF animation?
No. Every frame is cropped to the exact same coordinates and dimensions. Frame count, timing, and loop behavior stay identical. Only the visible area changes.
Can I crop to a circle or other shape?
No. GIF cropping only supports rectangular areas. GIFs don’t support transparency in the same way as PNG, so non-rectangular crops aren’t possible. If you need a circular avatar, consider converting to PNG first.
What’s the minimum crop size?
1×1 pixel technically, though that wouldn’t make a useful GIF. In practice, any reasonable size works.
Can I crop and then resize?
Yes. After cropping, you can use the Resize GIF tool to adjust dimensions further. Or use Compress GIF to reduce file size.
Is the crop applied to every frame?
Yes. The same crop coordinates are applied to all frames uniformly. This ensures the animation stays stable without any jitter between frames.
Can I undo a crop?
The tool doesn’t have an undo button, but you can simply re-upload the original GIF and set new crop coordinates. Always keep your original file.
More GIF Tools
- Compress GIF – Reduce GIF file size without losing quality
- Resize GIF – Change GIF dimensions precisely
- Cut GIF – Trim GIF to a specific time range
- Speed GIF – Speed up or slow down GIF playback
- Images to GIF – Combine multiple images into one GIF
- Reverse GIF – Play GIF frames backward
- Rotate GIF – Rotate GIF 90°/180°/270°
- Video to GIF – Extract a clip from video as GIF
- Add Text to GIF – Overlay text captions on GIF frames
- Split GIF – Extract individual frames from a GIF
- GIF to Video – Convert GIF animation to MP4/WebM video